The content in this section is an extract from the excellent book 'Dressing Fish, Game and Seafood: A Plucking - Gutting - Shucking and Filleting Guide to New Zealand’s Wild Foods by Brad Parkes.
'Dressing Fish, Game & Seafood' is available to buy online and in all good bookshops.
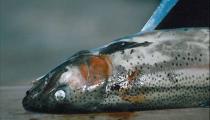 |
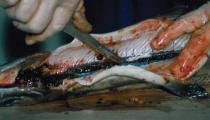
1. Insert Knife Insert knife point into vent and sweep knife up to top of the “V” of the chin to where the blade meets hard cartilage. |
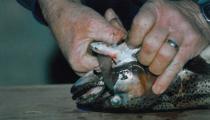 |
2. Separate Cartilage Separate cartilage from front of lower jaw by cutting through from one side, under the cartilage and out the other side, and then sweeping the blade forward. |
 |
3. Insert Thumb Insert thumb of left hand into gap to hook around end of lower jaw, firmly grabbing freed cartilage with right hand. . . . . . and firmly pulling right hand towards tail. |
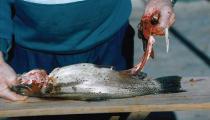 |
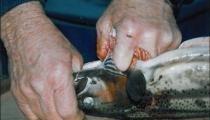
4. Gills & Guts The gills and guts should completely pull right out of the fish. Some knife work may be required to separate out the gills. |
 |
5. Back Bone Run knife point down blood channel hard against back bone. After this, from tail end, firmly push your thumb down and along back bone to remove congealed blood etc. |
Next Steps
If at this point you are still out on the river or lake, rinse the fish out.
Boogie recommends threading a length of cord through the now fully exposed lower jaw and hanging the fish off your belt to allow the fish to cool, rather than wrapping it in plastic or the like and putting it in your pack as the fish may spoil.
Back at home or camp, place the fish in the fridge or a cold spot overnight to allow the flesh to set.